Beginner’s Guide to Drawing Birds
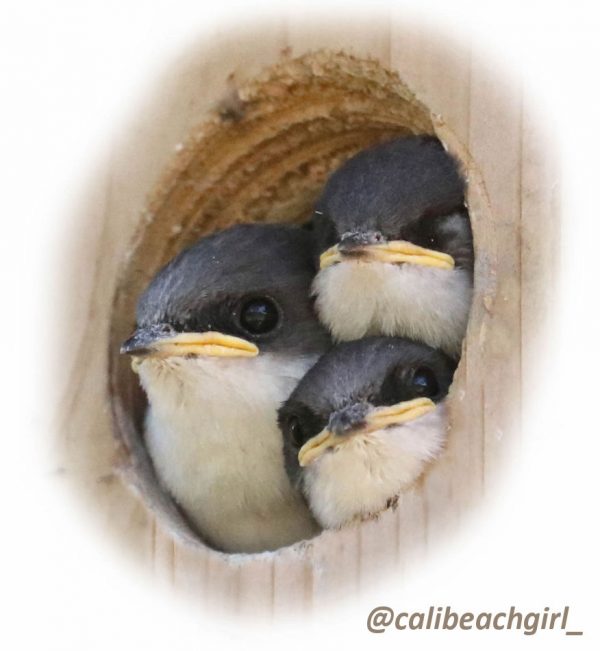
These cute little Tree Swallows popped up on my Instagram feed a few months ago. The incredible photo was taken by Stephanie White, a very talented photographer who kindly allows me to use her work. With such a stunning reference photo I was really looking forward to painting the three little chicks.
But what method should I use to get the outline drawing onto the watercolour paper? Indeed, everyone will work differently and ideally if we all had the time I am sure that we would all like to aspire to freehand draw. However, if you have never drawn before where do you start?
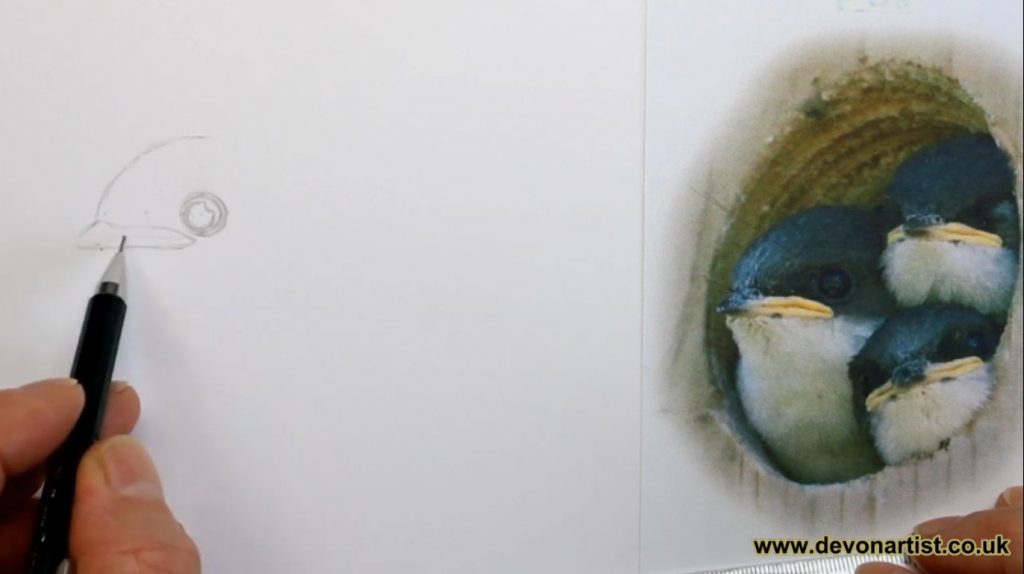
Freehand Drawing
I always start with a reference photo printed to the size I would like the finished painting. I then select an area to work outwards from. For me this is usually an eye – no surprise there, as eyes are my favourite thing to paint! I start by using my pencil to measure the size of the eye on the reference photo. I do this using the tip of the pencil and my thumbnail and take this rough measurement to the watercolour paper. I mark the width of the eye roughly on the surface and repeat with the height if necessary. Finally, I lightly sketch the shape in, constantly allowing my own eyes to flick back and forth to the reference. I then use a similar method for the next feature whilst paying attention to whether this is on the same line as the eye. I also note how far away it is, how big it is in relation to the eye and whether it is at an angle at all.
As you can see, this is a time-consuming process which you really need to focus and commit to. So what about other methods if you are struggling for time or are itching to get to the painting? Or maybe you simply lack confidence in your drawing skills.
The Grid System
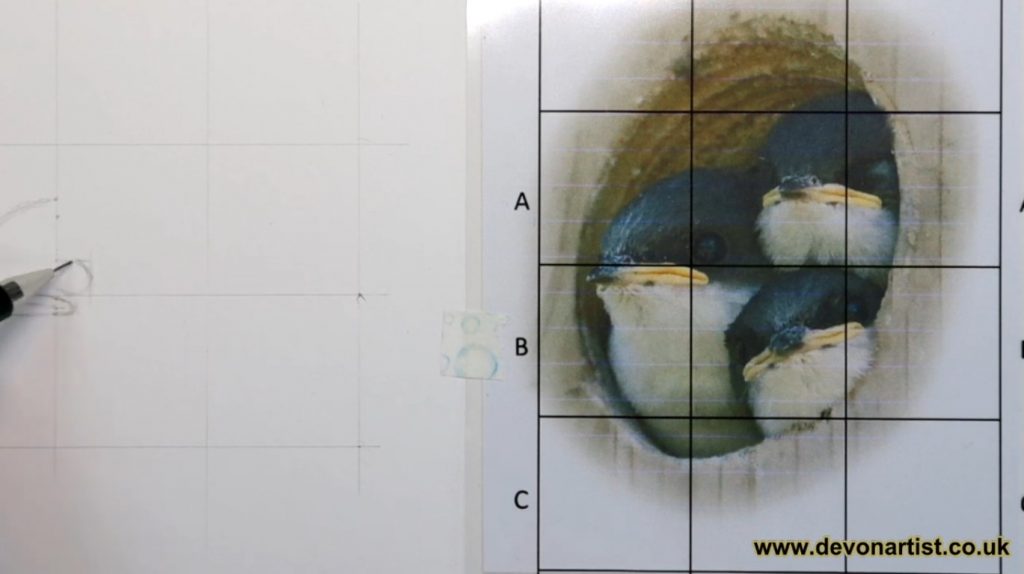
The grid system sort of bridges the gap to a slightly easier method. You are still drawing freehand but the grid introduces a level of guidance and helps you keep things in proportion. It also introduces a way of increasing or decreasing the size of your painting in relation to the reference photo.
I tend to use a grid I’ve printed on to specialist acetate, feel free to download the templates below. A point to note is that acetates vary and you need to purchase the type for your printer i.e. inkjet or laser. However, you could simply draw your grid on to the print out.
Once you have your grid on the reference photo you need to prepare your watercolour with a grid with the same number of squares. A few things to think about with this. First, press very lightly with your pencil, you do not want to damage the delicate paper surface. At the end of the process you need to be able to erase these lines without a trace. Secondly if you want your painting larger than the photo draw your grid larger. Likewise, if you want it smaller draw it smaller. Finally it is worth noting that generally the smaller the squares the more accurate you will be able to be. But this has to be weighed up with the amount of lines you have to erase later on.
Once you have your grids, use them to guide your drawing. The eye for instance is in the corner of square A2 and takes up about a fifth of the line. The beak needs to run along the line between row A & B and so on.
‘Old Fashioned’ Tracing
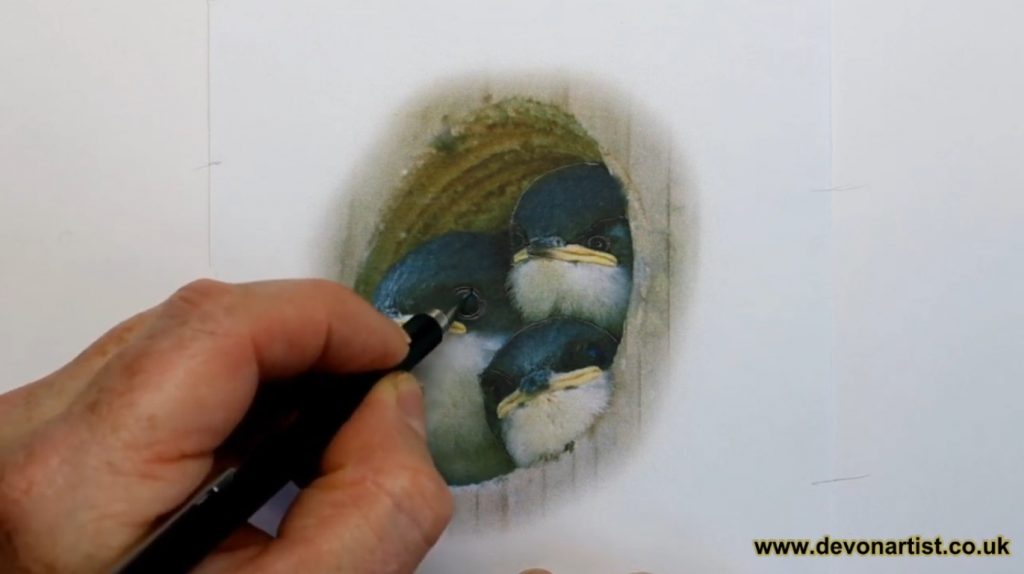
We all used this method as children, tracing enables everyone to produce a drawn image which is in proportion and accurate. You could use actual tracing paper placing it over the reference photo. Then simply draw over the image and scribble over these lines on the back using a soft leaded pencil (8B or 9B). Place the scribble side down and draw over the lines once again, to transfer the image. In the example above I didn’t have any tracing paper, so I drew on the print out, which was on pretty thin paper, instead.
Graphite Backed Paper
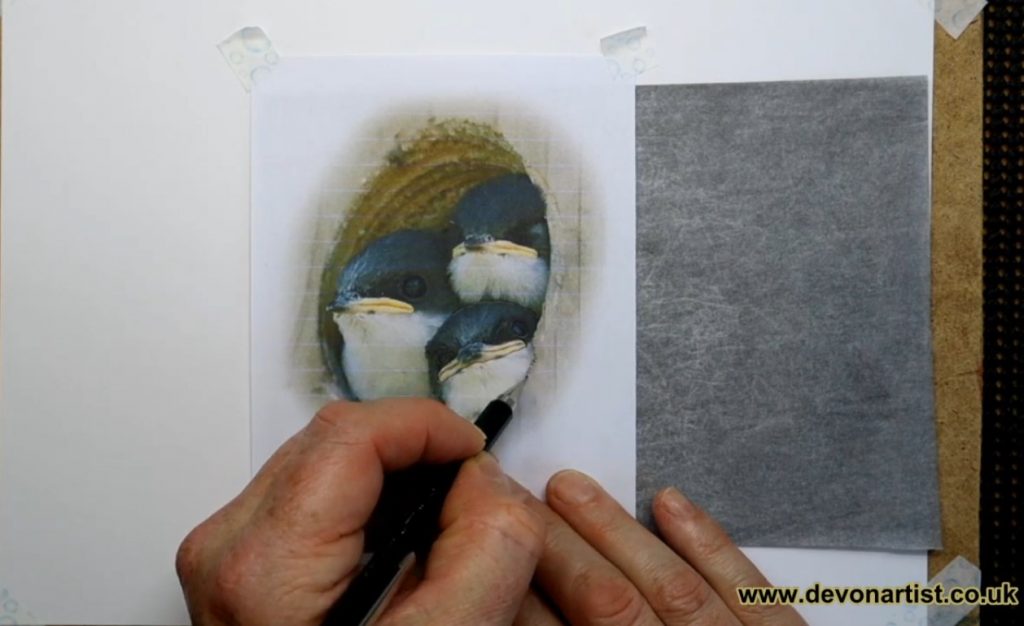
Graphite backed paper is the same principle as tracing but omits the need to scribble on the reverse of the image and means you only need to trace the image once. To be honest, this is the method that I use the most. Whilst I love to freehand draw, as a professional artist, I simply don’t have the time! Lightly tape the image to the watercolour surface exactly where you want to paint. I usually make a few reference marks from the print out to the watercolour surface. This enables me to reposition the image if I need to redraw anything later. Next place the graphite paper shiny side down in between the two pieces of paper. Finally, trace the image with a medium pressure. You can carefully check underneath, firstly that the image is transferring – it doesn’t if the graphite is upside down! Secondly that you haven’t missed any bits.
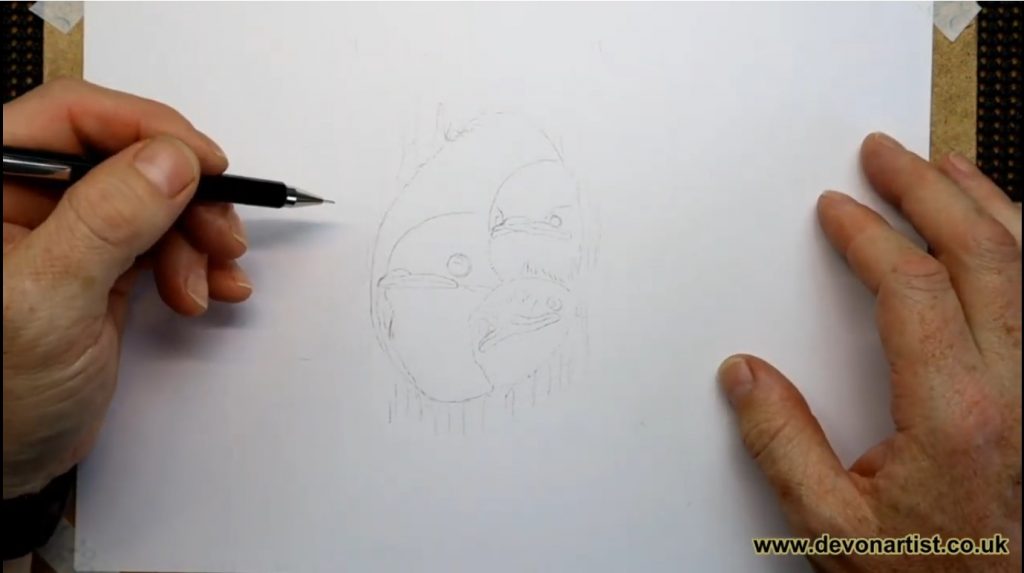
Whichever method you have chosen to use, your outline image needs to be fairly light. With a realistic watercolour you don’t want outline lines showing through. They tend to make a painting look a bit cartoon like which is not what we are after.
With so many methods I decided to do a live recording of each on YouTube. The video is still on my channel to watch, but I’ve also included it in the blog below to save you the trouble of clicking!
I hope that this overview of drawing techniques has been useful and that it has inspired you to have a go.
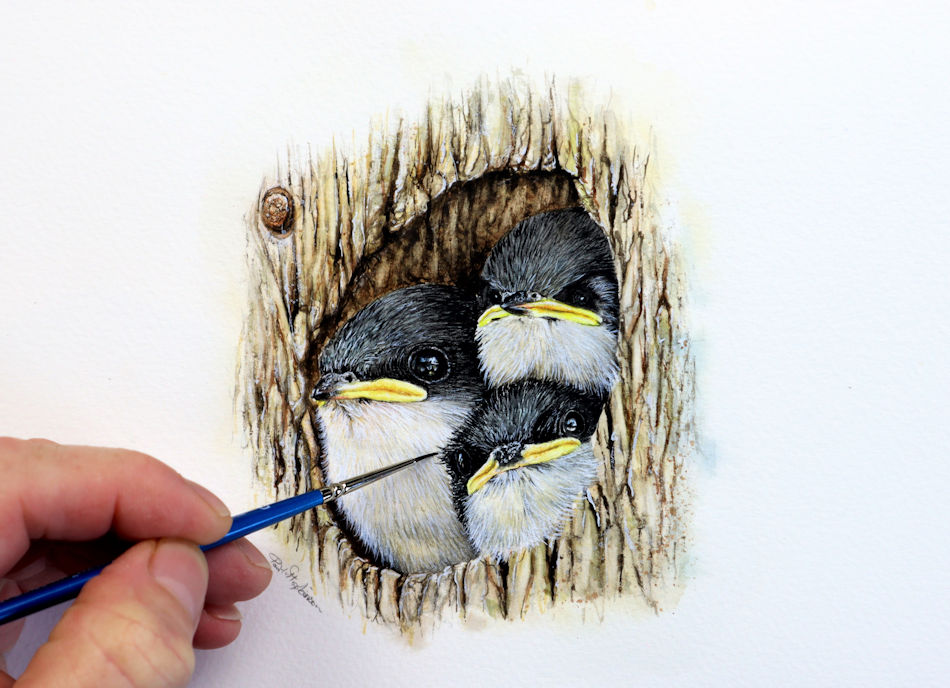
I of course went on to paint the gorgeous little chicks….
…and I filmed them as a video tutorial too – here’s a little sneak peek of it.
With thanks to Aakash Gandhi for his beautiful background music – Arms of Heaven
Thanks for staying with me and reading so far, until the next time, keep those pencils sharp! Paul 😉




2 responses
Very informative thank you very much
You are more than welcome, glad you found it useful.