Preparing to Paint a Montage of Garden Birds
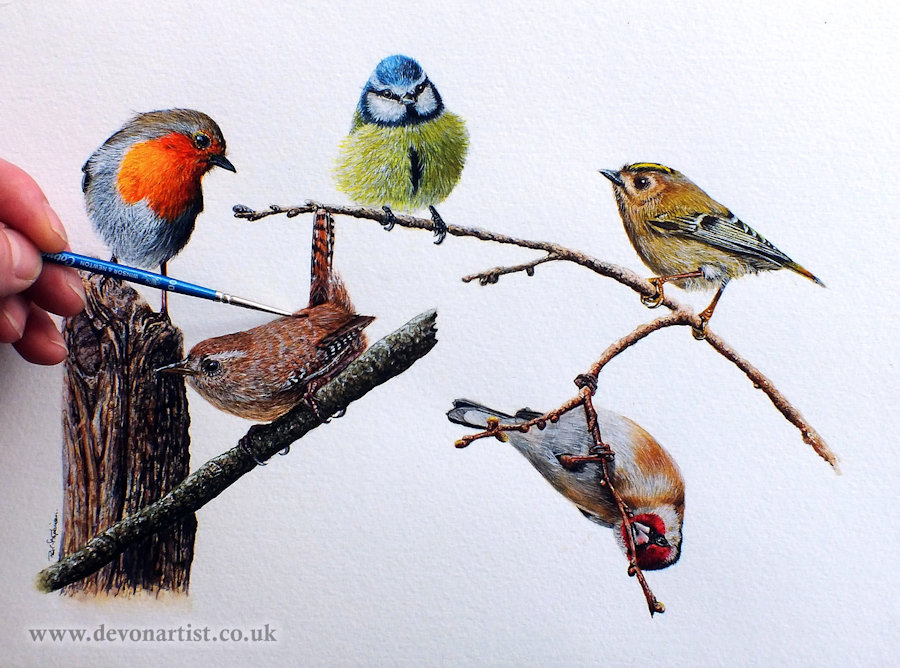
Preparing to paint this montage of garden birds was quite a complex process. I therefore thought I would write it up for anyone else who may be considering a similar project. Indeed, it had been in my mind for a while to paint a group of birds like this. However, working out the composition and the specific birds to include had held up the process. I am fortunate to have a number of amazing photographers who give me permission to use their photos as reference material. This of course meant I was totally spoilt for choice on the birds to choose! So after many hours of looking through Flickr and Instagram I finally had my final five or maybe seven…… I know I sound like some talent show judge picking their contestants!
The format of the painting
The next stage of preparing to paint this montage of garden birds was to work out the overall format of the picture. I had purposefully chosen birds with a bit of character about their pose. We have the little hunched down wren and the coy looking robin. Alongside an acrobatic goldfinch and a stern looking goldcrest. Finished off with a little puffed up blue tit. But where should each bird go within the final picture? I needed to consider size relations. In other words, did I want them all correctly sized against one another, or alternatively just a suggestion of their correct size. I decided the easiest way to work this out was to print out the photos in a range of sizes. This in turn allowed me to compare them side by side and see what they looked like.
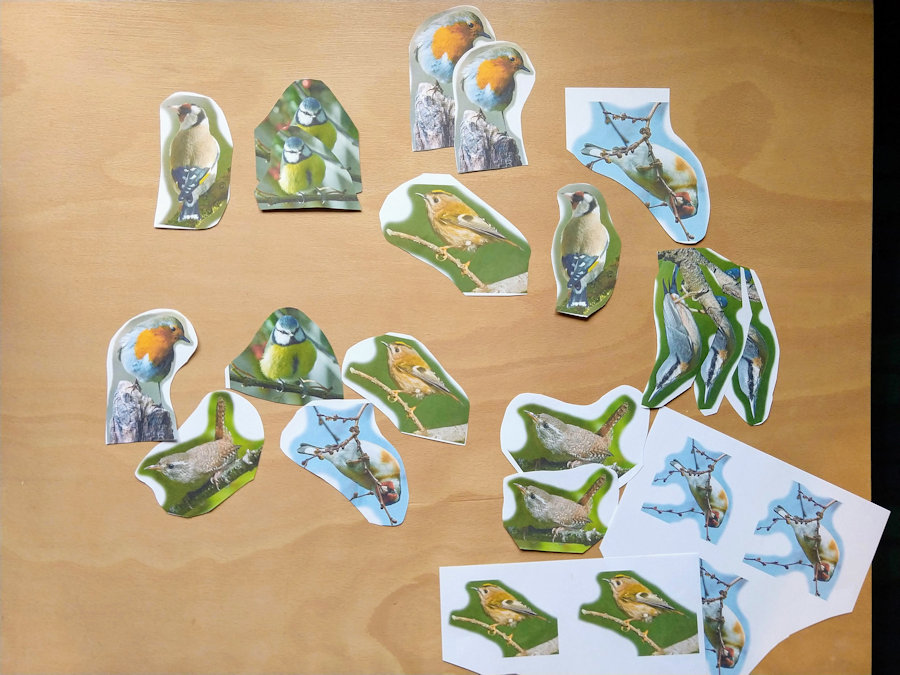
What bird goes where?
With the images printed, I could move them around and also put them with the other birds. In addition, I could swap out an image for a different bird or a different size print if they didn’t look right. At this stage, I also needed to consider how I was going to link them all together with branches etc. In other montage paintings I had looked at, the birds were often in a line on a single branch. However, my images didn’t really suit that style and to be honest I wanted to challenge myself to do something a bit different.
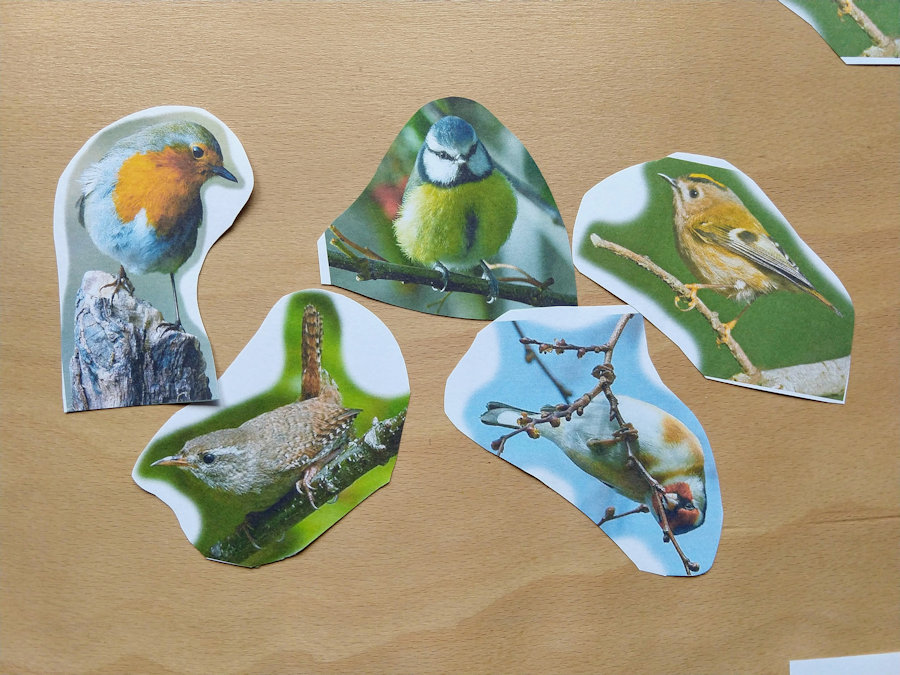
I finally decided on the combination of birds and sizes shown above. In addition I had a sort of idea on how I would then combine them into a painting that worked as a whole.
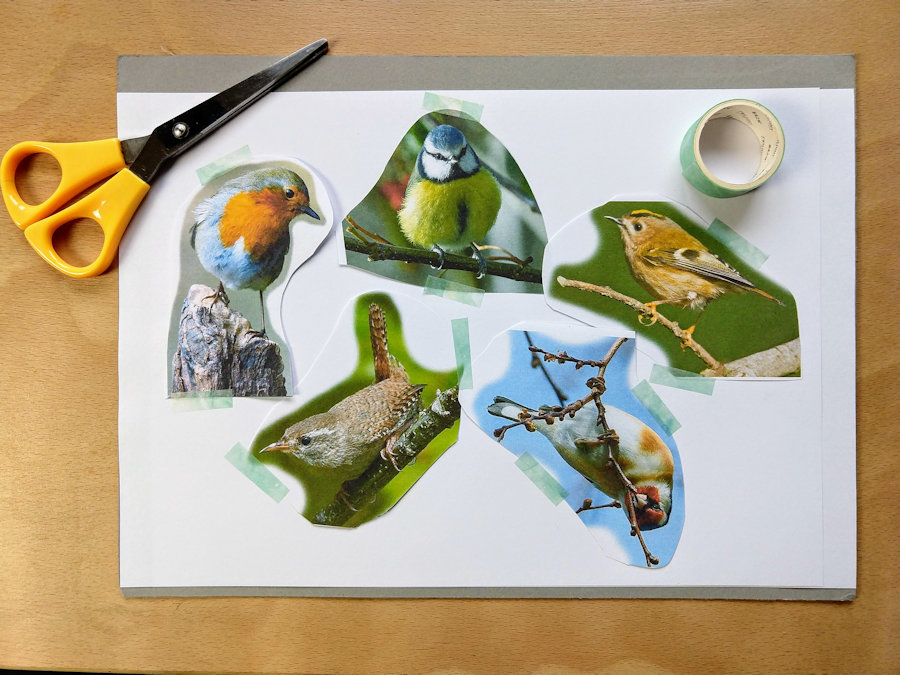
Preparing an outline drawing
The next stage in preparing to paint the montage of garden birds was to work on an outline drawing. I carefully recreated my chosen layout on to some printer paper. Then each image was lightly taped down with some low tack washi tape. In addition, I added a few little reference marks around each photo. Therefore, in the event of the image moving this would give me an opportunity to re-position accurately.
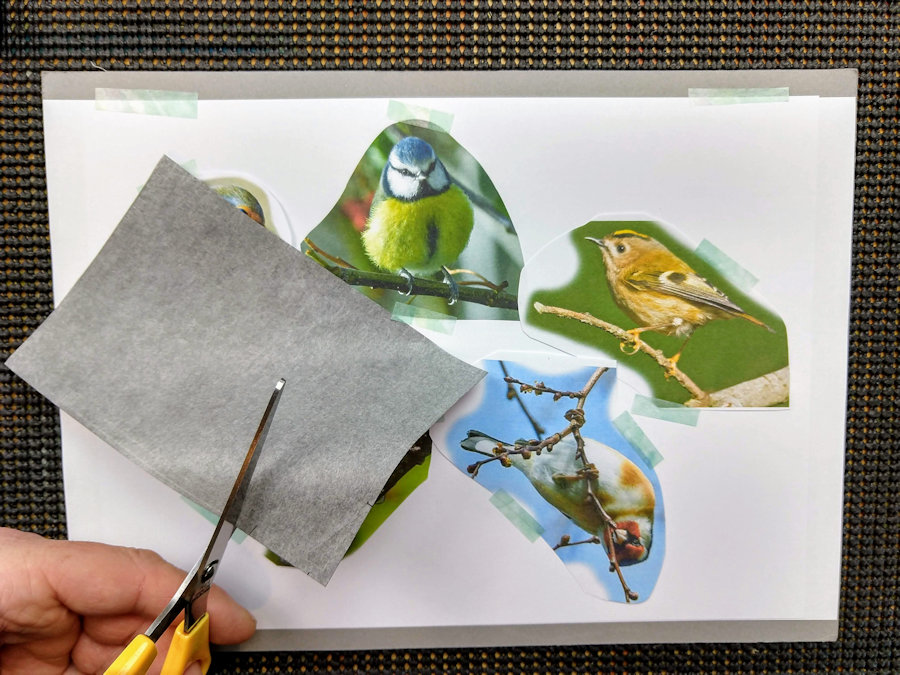
You may already know my quick and accurate technique for transferring an outline drawing from a photograph. If not check out this blog on drawing out. Indeed, this method worked perfectly for this challenge. I cut small pieces of graphite backed paper to slide underneath each image.
As I was working on each image separately I could carefully lift each one to check that the lines were traced through. Any that moved slightly could easily be re-positioned and any missing lines added in. In addition, throughout this process the overall layout remained unchanged.
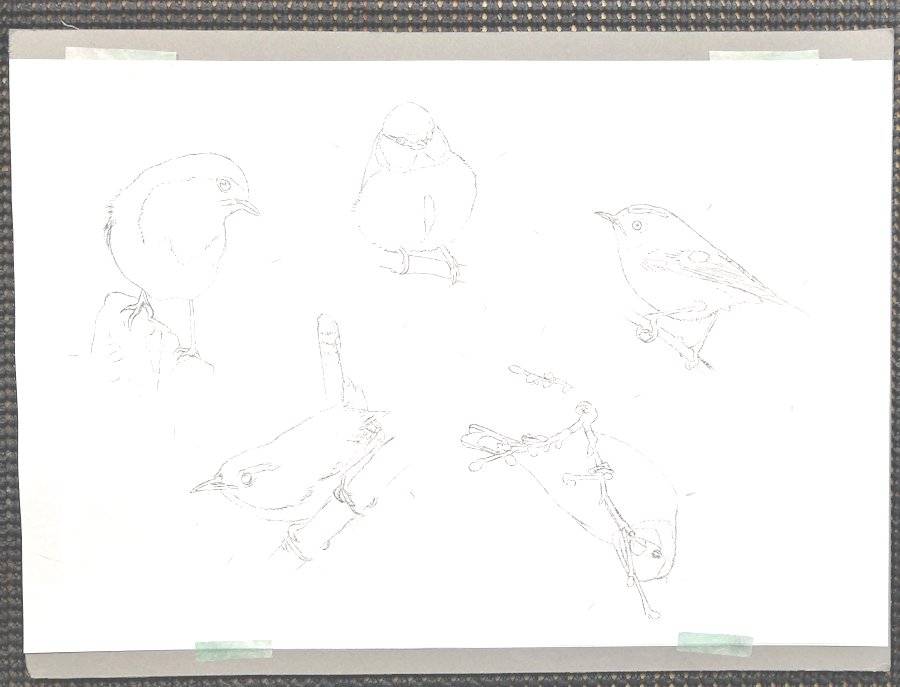
Working on a complete outline drawing
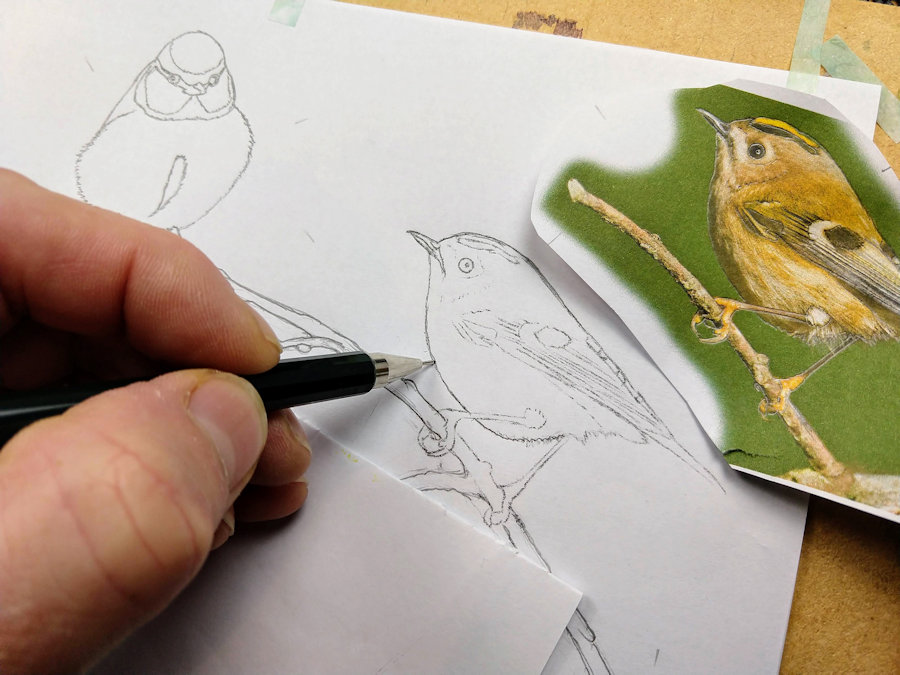
At this point, I was still quite a long way off having a finished outline drawing. There was a lot more preparing to do before I could paint the montage of garden birds. This first outline drawing produced using the graphite paper was very much a rough copy. I was subsequently able to use it to sketch out the branches and stump by hand. And as this was a rough copy, it didn’t matter if I changed my mind and altered things as I went along. I could erase sections and start again until I was completely happy with the final composition. Having decided on the final outlines, I strengthened the lines ready for transferring again.
Nearly there!
With a good strong outline, I used graphite paper to trace the complete final image onto a clean piece of paper. This was then scanned and is now available to my students.
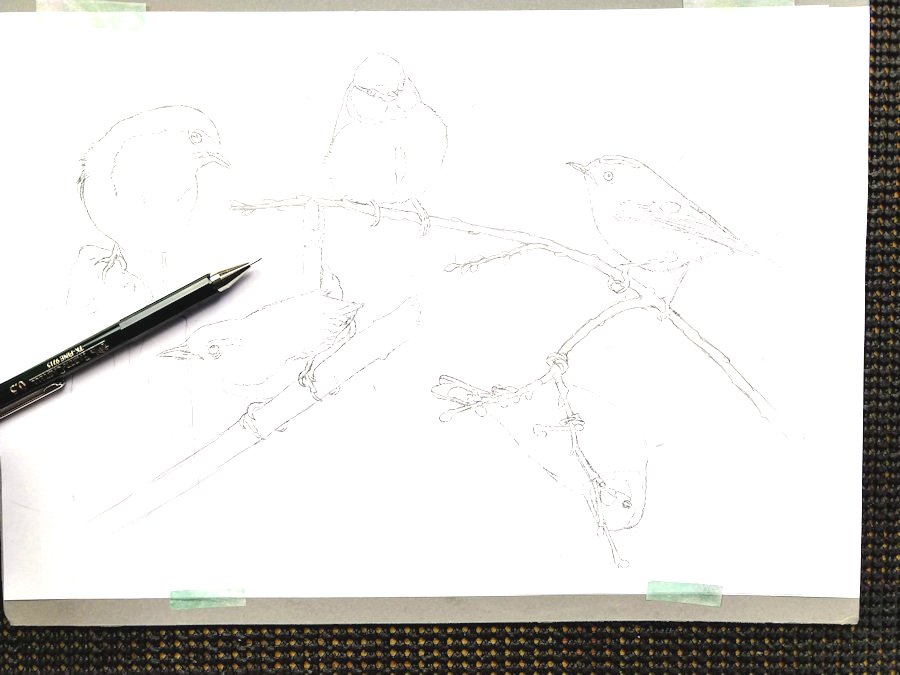
I did of course use the same image for my own version of the painting, which was filmed in real time. This is now available in my online school as a step by step tutorial. Some students are painting the birds individually, others are working on the whole composition. What would you do?

I hope this insight into how I went about preparing to paint a montage of garden birds has been useful and interesting. I would love to know if you have worked on something similar, or if you do so as a result of reading my blog. Do leave a comment and do feel free to share my work with your friends.
Until the next time, keep them brushes wet. Paul 😉




4 responses
I just love this! I’ve very recently found your site Paul, and I’m hooked!
Thank you very much Pauline, I’m glad you’ve found me too. Paul 🙂
This is a beautiful painting and the blog is really helpful. Just wanted to say how useful your PDF tutorials are. I prefer to learn from PDFs than from videos and I’m really pleased that these are available to buy separate to Patreon membership.
Thank you very much Jeanette. I’m glad you like the PDF’s, it takes Jo a very long time to put each one together, which is why they are pack with information. Paul