Learn about Mixing Watercolour Paints
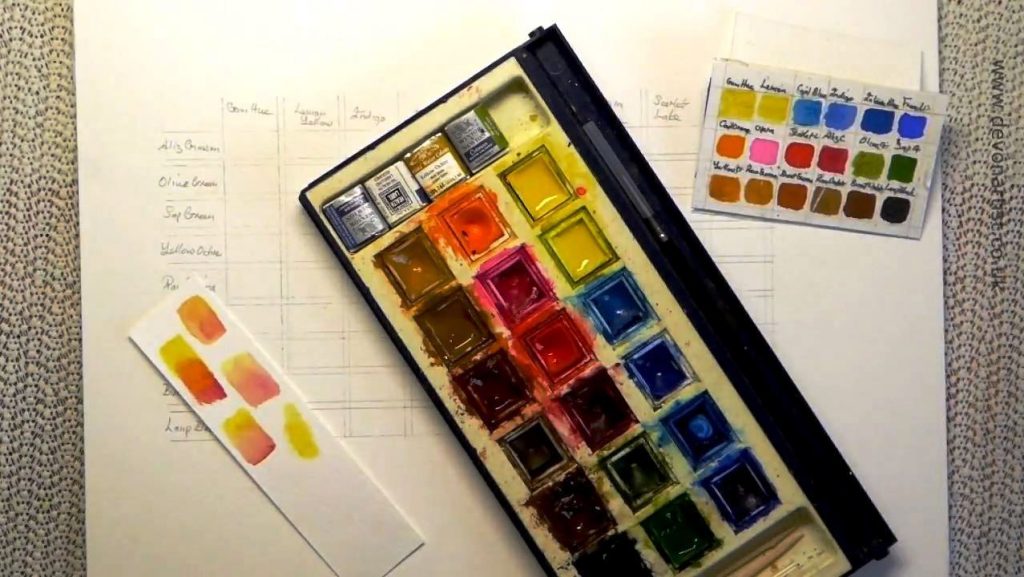
Mixing colours for a watercolour painting can be tricky. Indeed, for those new to the medium, it can even be a bit daunting. There are a few things you can do to make your life easier. At the same time you will also get to know your paints that bit better. So it really does benefit you to learn about mixing watercolour paint. For starters, if you are like me, you may find it tricky to know all the ‘official’ colour names. It is always worth having a little guide of your own specific palette. Simply have the names written out beside their respective colours and their exact place in your tin. Should you change one of your pans you have two options. You could simply repaint the whole card. Or alternatively you can make a little swatch of your new colour and stick it over the top.
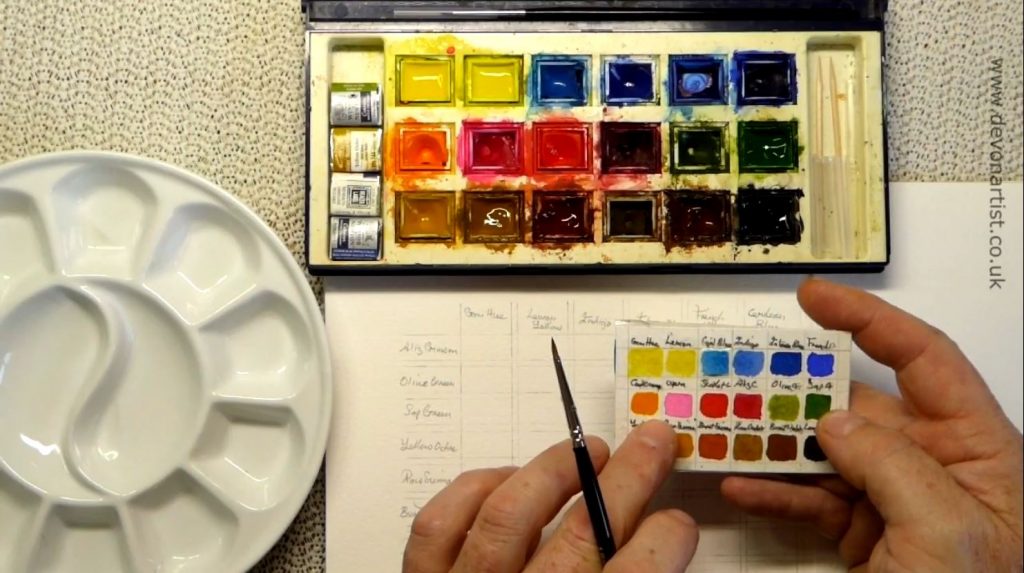
Secondly, you can work on a colour mixing grid. You can lay this out in any way that you like. The idea is that you want to try mixing all your colours with every other colour in your palette.
My colour mixing chart
In the example above, I have drawn a grid in pencil. I have then put half my colours along the top and the other half down the side. This effectively gives me 81 colour mixes. However, I have not mixed the colours along the top with one another. Equally, I have not mixed the colours down the side with one another. If I were to include those that would be a lot of mixes and a very big grid. Also, this grid only takes account of mixes between two colours. Sometimes I like to mix 3, maybe 4 colours. It is no wonder that people get confused and just don’t know where to start. Should it also help to know exactly what I like to use, this page may be of interest.
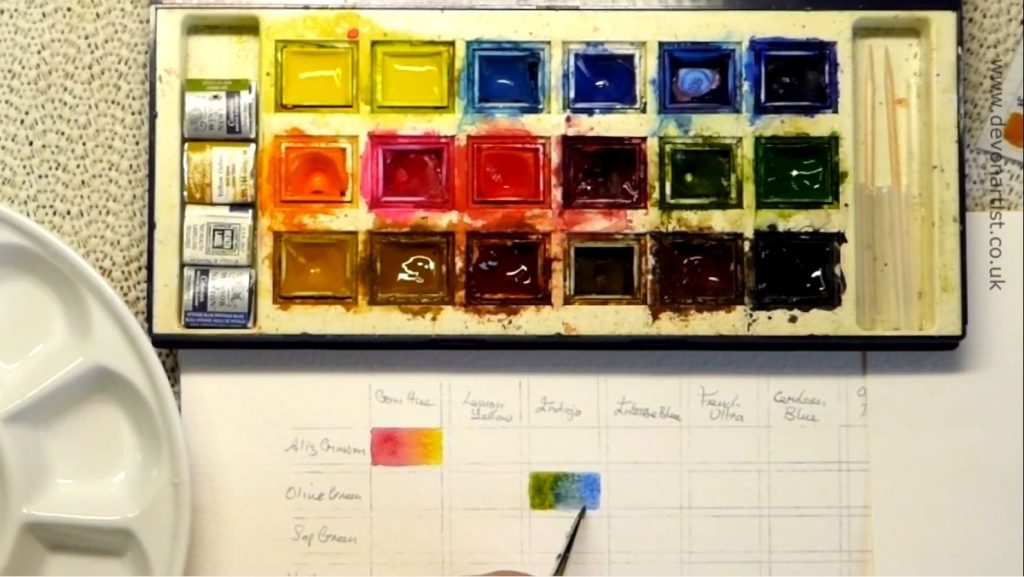
OK, so how did I get the grid on to my watercolour paper? Well I first designed it on some scrap paper and then simply transferred it using graphite paper. This avoids mistakes within the finished piece. It also avoids all those unsightly blemishes you can get from incorrect pencil lines leaving marks behind. I deliberately included gaps between my sections so that there was no bleed between them. This will allow you to work systematically across and down the piece. First wet an individual grid square and work in the colour in one half of the section. Secondly, wash your brush and then apply the second colour to the other half. Allow the colours to naturally mix. And whilst everything is still wet, you can use your brush to gently blend the colours together in the centre.
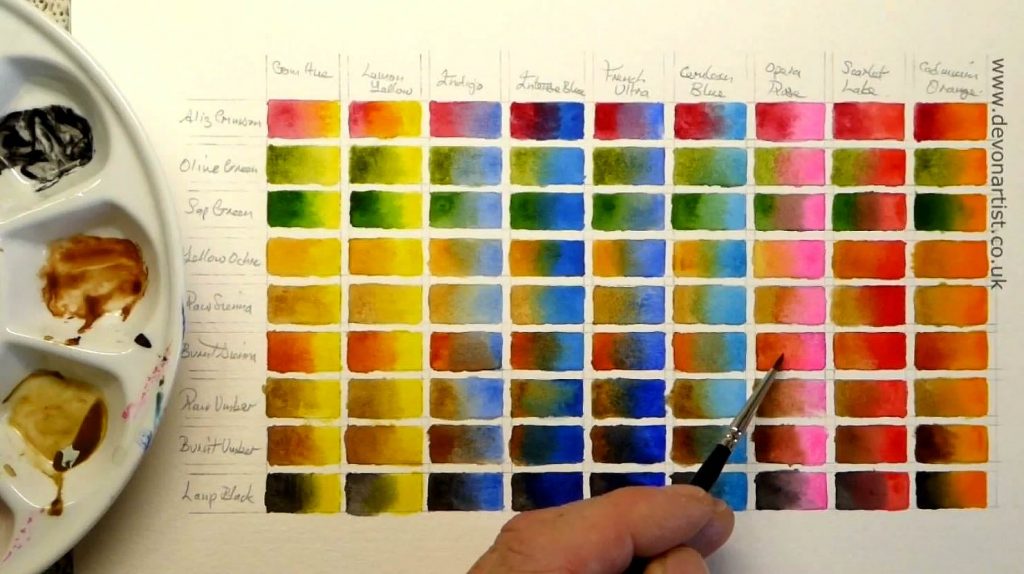
What an array of colour combinations! Remember to keep your vertical colours to the left of the sections and the horizontal colours to the right. In turn, this gives you consistency across the piece, which will be easier to understand and use later.
Work with a single colour
A much simpler way of working with your colour mixes would be to focus on a single colour in your palette. So for example, here are a few of the combinations that can be made with alizarin crimson.

Hopefully this has given you a bit of an insight into understanding the way colours mix and blend. Should you want to learn more about mixing watercolour paint, I have a few videos available on my YouTube channel. Have a go with your own paints and see if it helps. Or simply have some test pieces of watercolour paper to hand whenever you are working on a project. Try out your colour combinations on the scraps instead as you go along. Whatever you decide to do, the most important thing is to ‘keep those brushes wet’! 




2 responses
I love the idea of mixing the colours on the paper and also doing a line of mixes with a single colour. Thank you Paul
Hi Angela, you are more than welcome, thank you for coming along to my blog. Paul 🙂