A Jenny Wren Painting
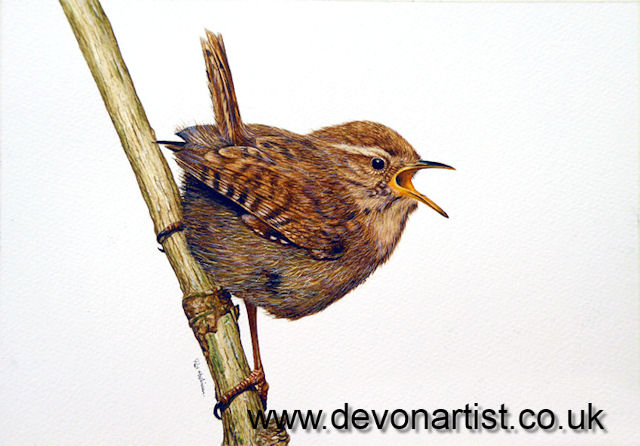
Once again we’ve started our volunteer nest recording work for the BTO. One bird we notice, while we are looking for and monitoring nests, is the wren. However, we’ve yet to find a lined nest this year, so this blog will have to be about painting a wren instead. Hopefully we can report on an actual wren nest later in the year. 
The male wren can often be spotted singing from a vantage point, trying to encourage a female. For such a tiny bird, they have a very loud voice and can be heard from some distance. Early in the season, the male busies himself building several nests within his territory. These are neat globe shaped nests with a little entrance hole and made from moss, leaves and grasses. Though, on a local farm we found them made from straw, so I guess they just use what is to hand. The female, of course, will inspect the male’s handiwork and chooses a nest that she feels meets her exacting standards! She will then line this with feathers in which to lay her eggs.
Beginning the Painting
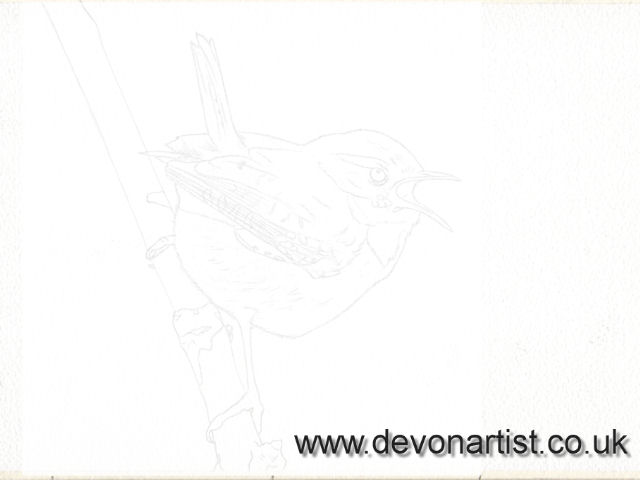
The first stage is to draw the image on to watercolour paper. I use Bockingford *- it suits my style and technique well.
I almost always start on the eye or eyes of a subject, I love to see them looking back at me as I progress through the piece. Indeed, the eyes will usually be the make or break area. Should they not look right, the painting can sometimes end up in the bin and I start again. At least at this stage I’ve not invested too much time!
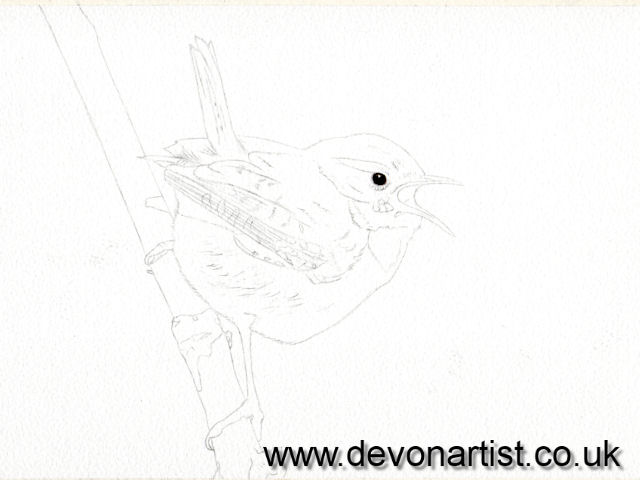
For a bird the next area I would usually work on would be the beak. Along with the eyes, the beak is the other obvious stand out feature on the face. As such, it is really important that it looks right to give the bird a realistic feel.
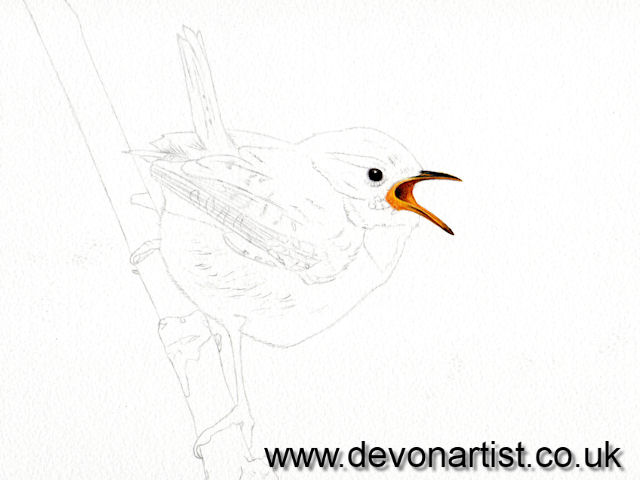
Applying the washes
Having painted in the two main features, I will start to work my way systematically down the body of the bird. Initially I will put in some under tones using some base washes of colour. These need to be allowed to dry between layers, so a quick blast with a hair dryer can speed things up. They are applied with a constant reference to the photo. Even at this first level, it is important to start to build up the darker and lighter areas.
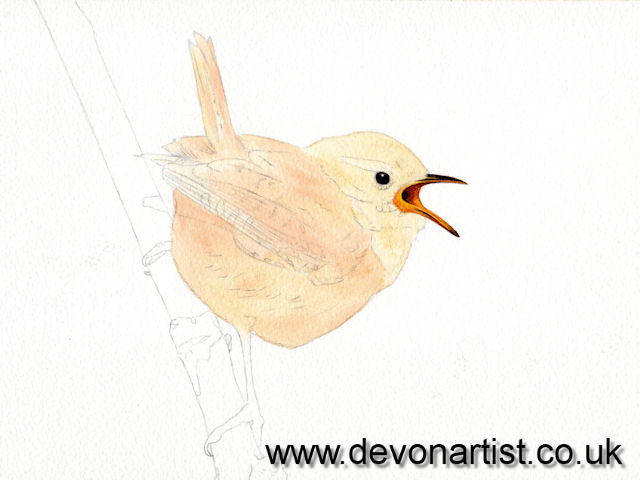
I may sometimes apply more than one base wash to achieve a deeper colour. For the wren I left it at one and started to work on the first layer of detail using a tiny 00 brush and minimal paint.
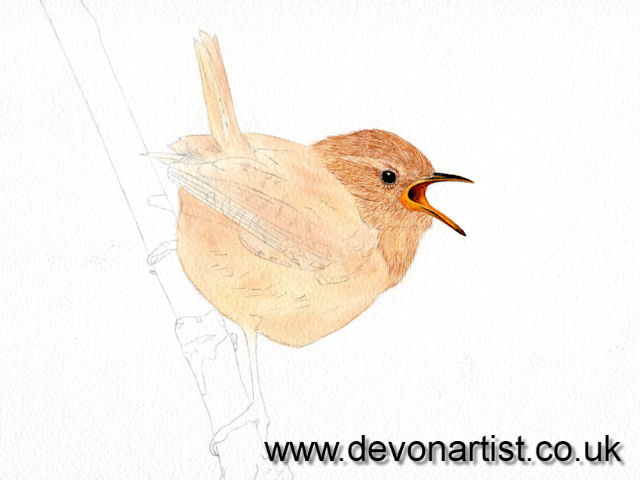
Adding the Detail
There is nothing to stop you leaving it at one layer of detail. However, I prefer to build the layers and I work in progressively darker tones. I continue this until I feel I have achieved the realistic feel that I am after. The photo below shows the results of adding a second layer to the face.
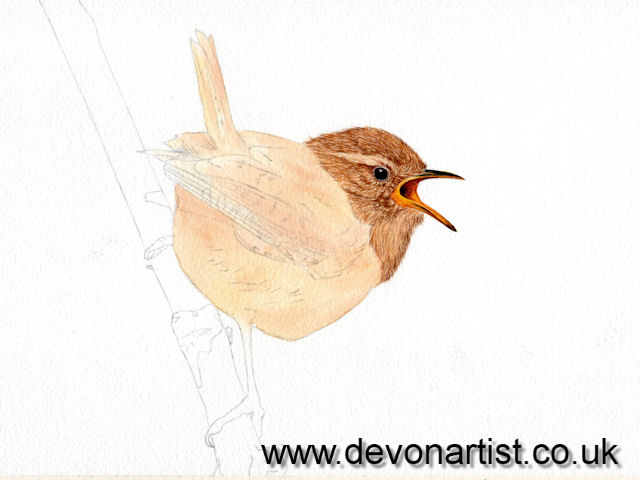
To this I added a third layer of detail. It is subtle, but you can see the darker tones. These are defining the shapes and depth within the feathers and facial features.
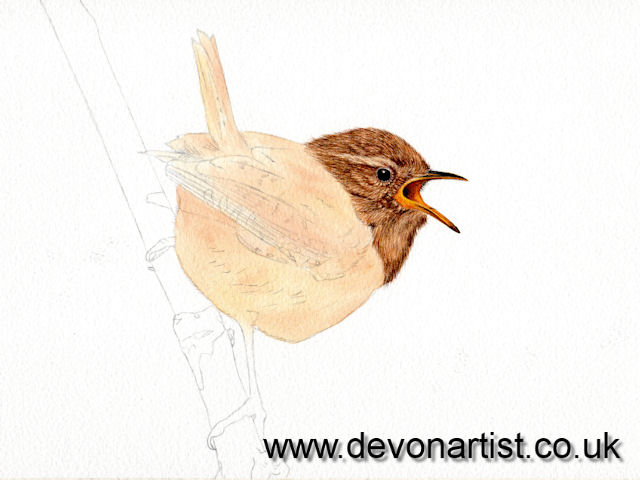
Having achieved the look I am after on the head, I work on the same principle with the body and tail feathers. So starting with a base wash and then adding finer details over the top in gradually darkening shades.
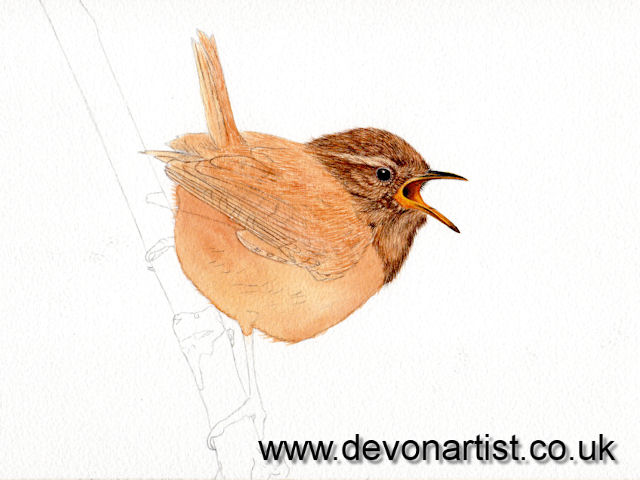
Painting the Branch
Whilst the legs and branch are different colours, my method is still exactly the same. I start off with a foundation wash and then build the depth and detail over the top. My final stage is usually to add the watercolour white highlights. I use an opaque SAA white paint, mixed to varying degrees of thickness. This is applied sparingly at first and built up very gradually. It is all too easy to get carried away and cover all the previous detail you’ve spent hours working on.

With this work in progress, I hope that I have given you a bit of an insight into how I paint a wren in watercolour. For more details you can check out my PDF tutorials. Or should you wish to actually watch me paint, do take a look at my video tutorials on YouTube. For full projects, why not become a member? All the links are here on my website. Until next time – keep those brushes wet and wish us luck finding an active wren nest! Paul
* I may earn a small commission at no extra cost to you from the product links above. I hope you find them helpful.


